Organizations and domains
Use Organization → Organizations to manage organizations. A platform administrator creates organizations. This needs the access all organizations permission. Organization members work with the organization permissions on their membership.
Set up an organization
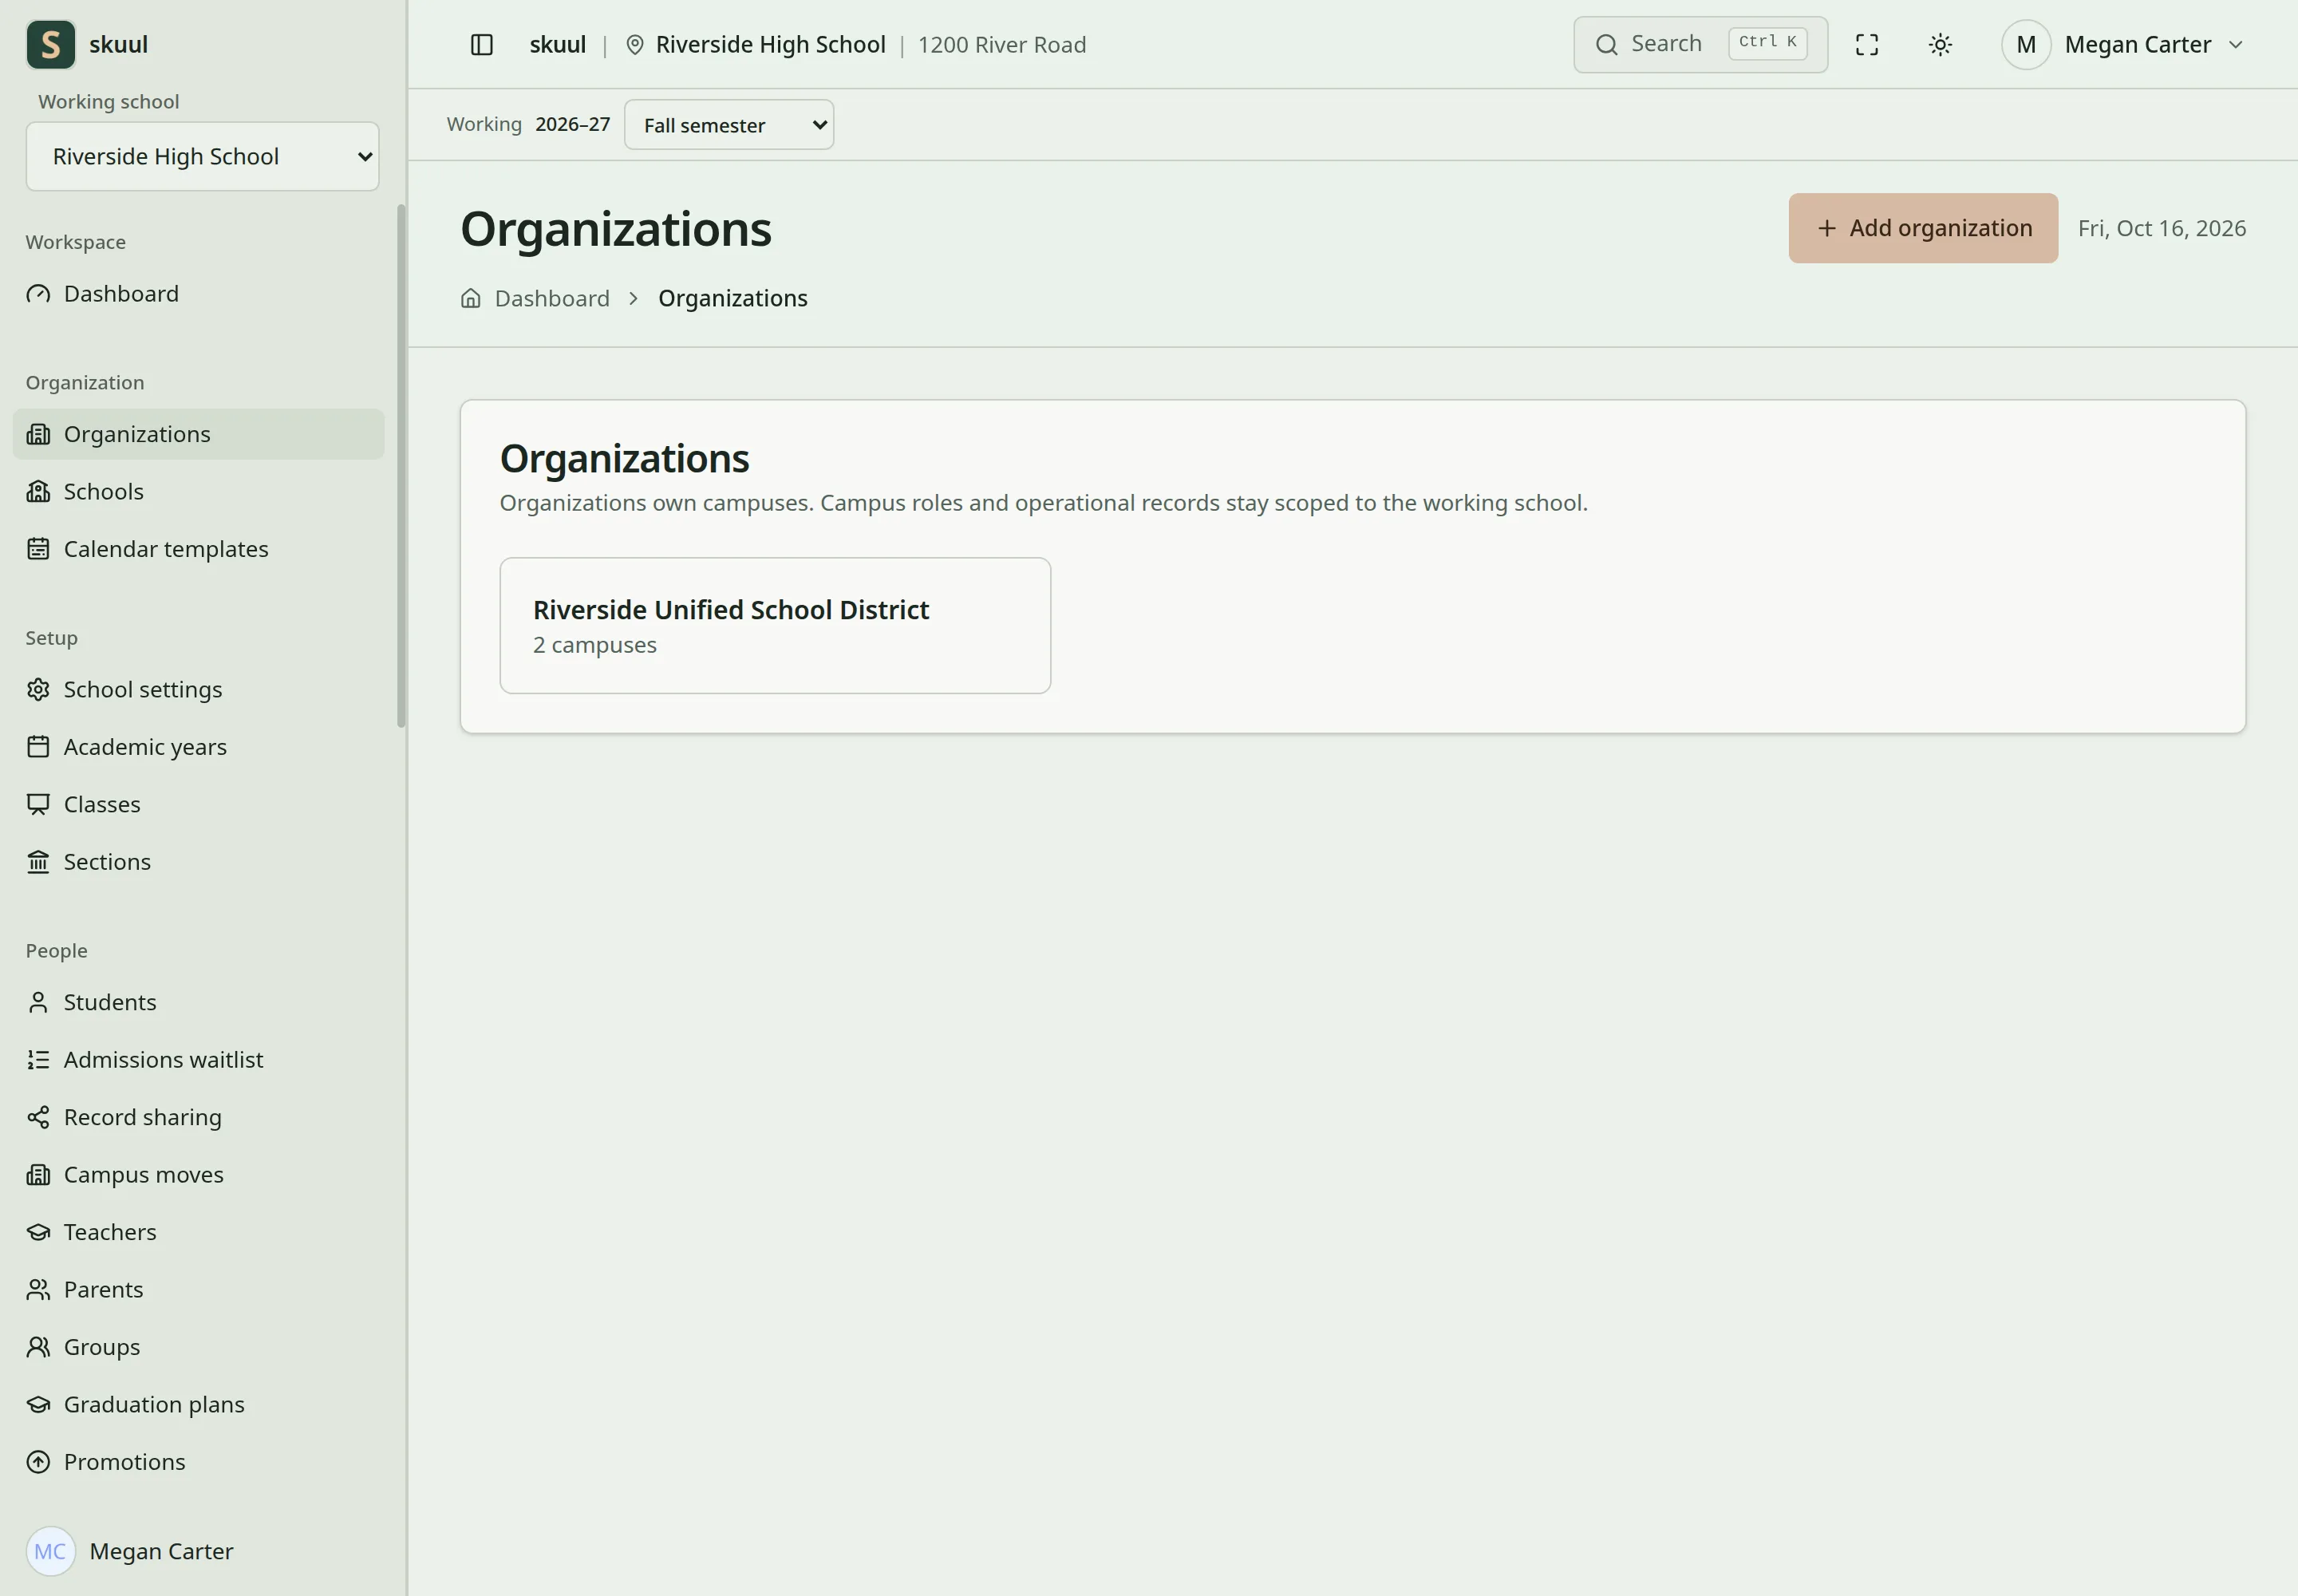
Organization ownership and campus access are separate.
- Select Add organization.
- Enter the organization details and select Create the organization.
- On the organization page, select Add campus to create each campus.
- Open Members and give organization scope to each organization administrator.
- Select Permissions to limit what each member can do.
- Open Organization overview to review the campuses.
The organization page has these tabs: Organization overview, Members, Web addresses, Billing groups, Shared residences, Calendar templates, and Organization settings.
Organization membership and campus membership are separate. Organization scope opens the organization screens only. It does not open campus records. Give operational staff access to each campus where they must work. Removing organization scope does not change the person's campus memberships.
Enter organization details
- Enter Name. Name accepts 255 characters.
- Enter Code (optional). Leave it empty to get a generated code.
- Enter Address (optional), Email (optional), and Phone (optional).
- Select Create the organization.
Code accepts up to 50 letters, numbers, dashes, and underscores. Each code must be unique. If the code has other characters, the form shows: "The code must only contain letters, numbers, dashes and underscores." If another organization uses the code, the form shows: "Another organization already uses this code."
To change the details, open Organization settings, change the fields, and select Save. On this page, Code is required.
Add a campus
- On the organization page, select Add campus.
- Select the Organization.
- Enter School name, Address, Country, State / Province, City, and Postal / ZIP code.
- Optional: enter Short name, Phone number, School email, and Time zone.
- Select Create school.
The application then opens the guided setup for the new campus. You select the organization when you create the campus. The school edit form does not change it. See campus settings for the next steps.
Give organization scope
- Open Members.
- Enter the person's email address and select Give scope.
- Find the person under Organization administrators.
The person must already be known to the organization. For example, the person has a membership at one of its campuses. Otherwise the form shows: "Nobody at this organization uses that email address." Giving scope also gives the person the global organization administrator role.
A new member has full authority. The badge shows Organization Administrator. To limit a member:
- Select Permissions on the member's card.
- Clear Full authority.
- Clear each permission that the member must not have.
- Select Save permissions.
A limited member shows the Delegated badge. Every member keeps Read organization, so the organization screens still open. You can give or remove only the permissions that you hold yourself.
| Permission | What it allows |
|---|---|
Manage organization settings (manage organization) | Change organization details, web addresses, billing groups, and calendar templates. |
Manage organization members (manage organization members) | Give and remove organization scope. |
Manage campuses (manage organization campuses) | Add a campus and edit its details. |
Move students between campuses (move students between campuses) | Move a student without approval from the receiving campus. |
Read organization reports (read organization reports) | Open the Organization overview totals. |
To remove organization scope, select Remove scope, then Confirm removal. The person moves to Past administrators. Their campus memberships stay. The organization must keep at least one member who can manage members. The application refuses a change that removes the last one. The message says that the organization "would be left with nobody who can manage its members".
Add a web address
- Open Web addresses.
- Enter the hostname in Address.
- In Opens, select a campus, or The organization, no campus.
- Optional: select The main address.
- Select Claim it.
- Add the TXT record that the page shows under the address.
- After DNS propagation, select Prove it.
- Configure the web server, routing, and HTTPS for the hostname.
The TXT record name is _skuul-verification.<hostname>. Its value is the token on the page. Enter a hostname without a path. The application changes it to lower case and removes ports and trailing dots. An invalid entry shows: "[https://bad host/x] is not a web address this application can answer on." If the record is missing, Prove it shows: "The record was not found yet. Add it at _skuul-verification.example.org and try again in a few minutes."
An address that is not proved does nothing. Membership still controls what each person sees. A proved address does not create an HTTPS certificate or give access to records. If two organizations claim the same address, the first to prove it keeps it. Select Give it up in the address menu to remove an address.
Set up billing groups
Campuses in one billing group bill a family as one school. A learner who moves between them takes the balance along. A campus that is not in a group keeps what it is owed.
- Open Billing groups.
- Enter Name of the new group and select Start a group.
- Under Campuses, select the group for each campus. Bills on its own means no group.
Group names must be unique in the organization. Names accept 100 characters. A group contains only campuses of its own organization. Changing a group does not move entries that are already in the books. To remove an empty group, select Delete in its menu.
| Problem | Action |
|---|---|
| Organization administrator cannot open campus records | Give an active campus membership and a campus role. |
| Give scope says nobody uses that email | Give the person a campus membership in this organization first. |
| Prove it fails | Check the TXT record name, its value, and DNS propagation. |
| Proved address has no HTTPS | Configure web routing and certificates separately. |
| Balance did not carry during a move | Check that both campuses are in the same billing group. |
Check the result
- Confirm that each campus belongs to the correct organization.
- Check organization membership separately from campus membership.
See campus moves for approval and balance carry rules.