Notices and email preferences
Use Operations → Notices to write messages for the campus. The list shows each notice with its From and Until dates.
Before you start
Use read notice to open the list. Use create notice to write a draft. Use update notice to publish a draft. Use delete notice to delete a notice from the list. Parent and student accounts cannot write or publish notices. A draft is visible only to users with update notice or delete notice.
Prepare a notice
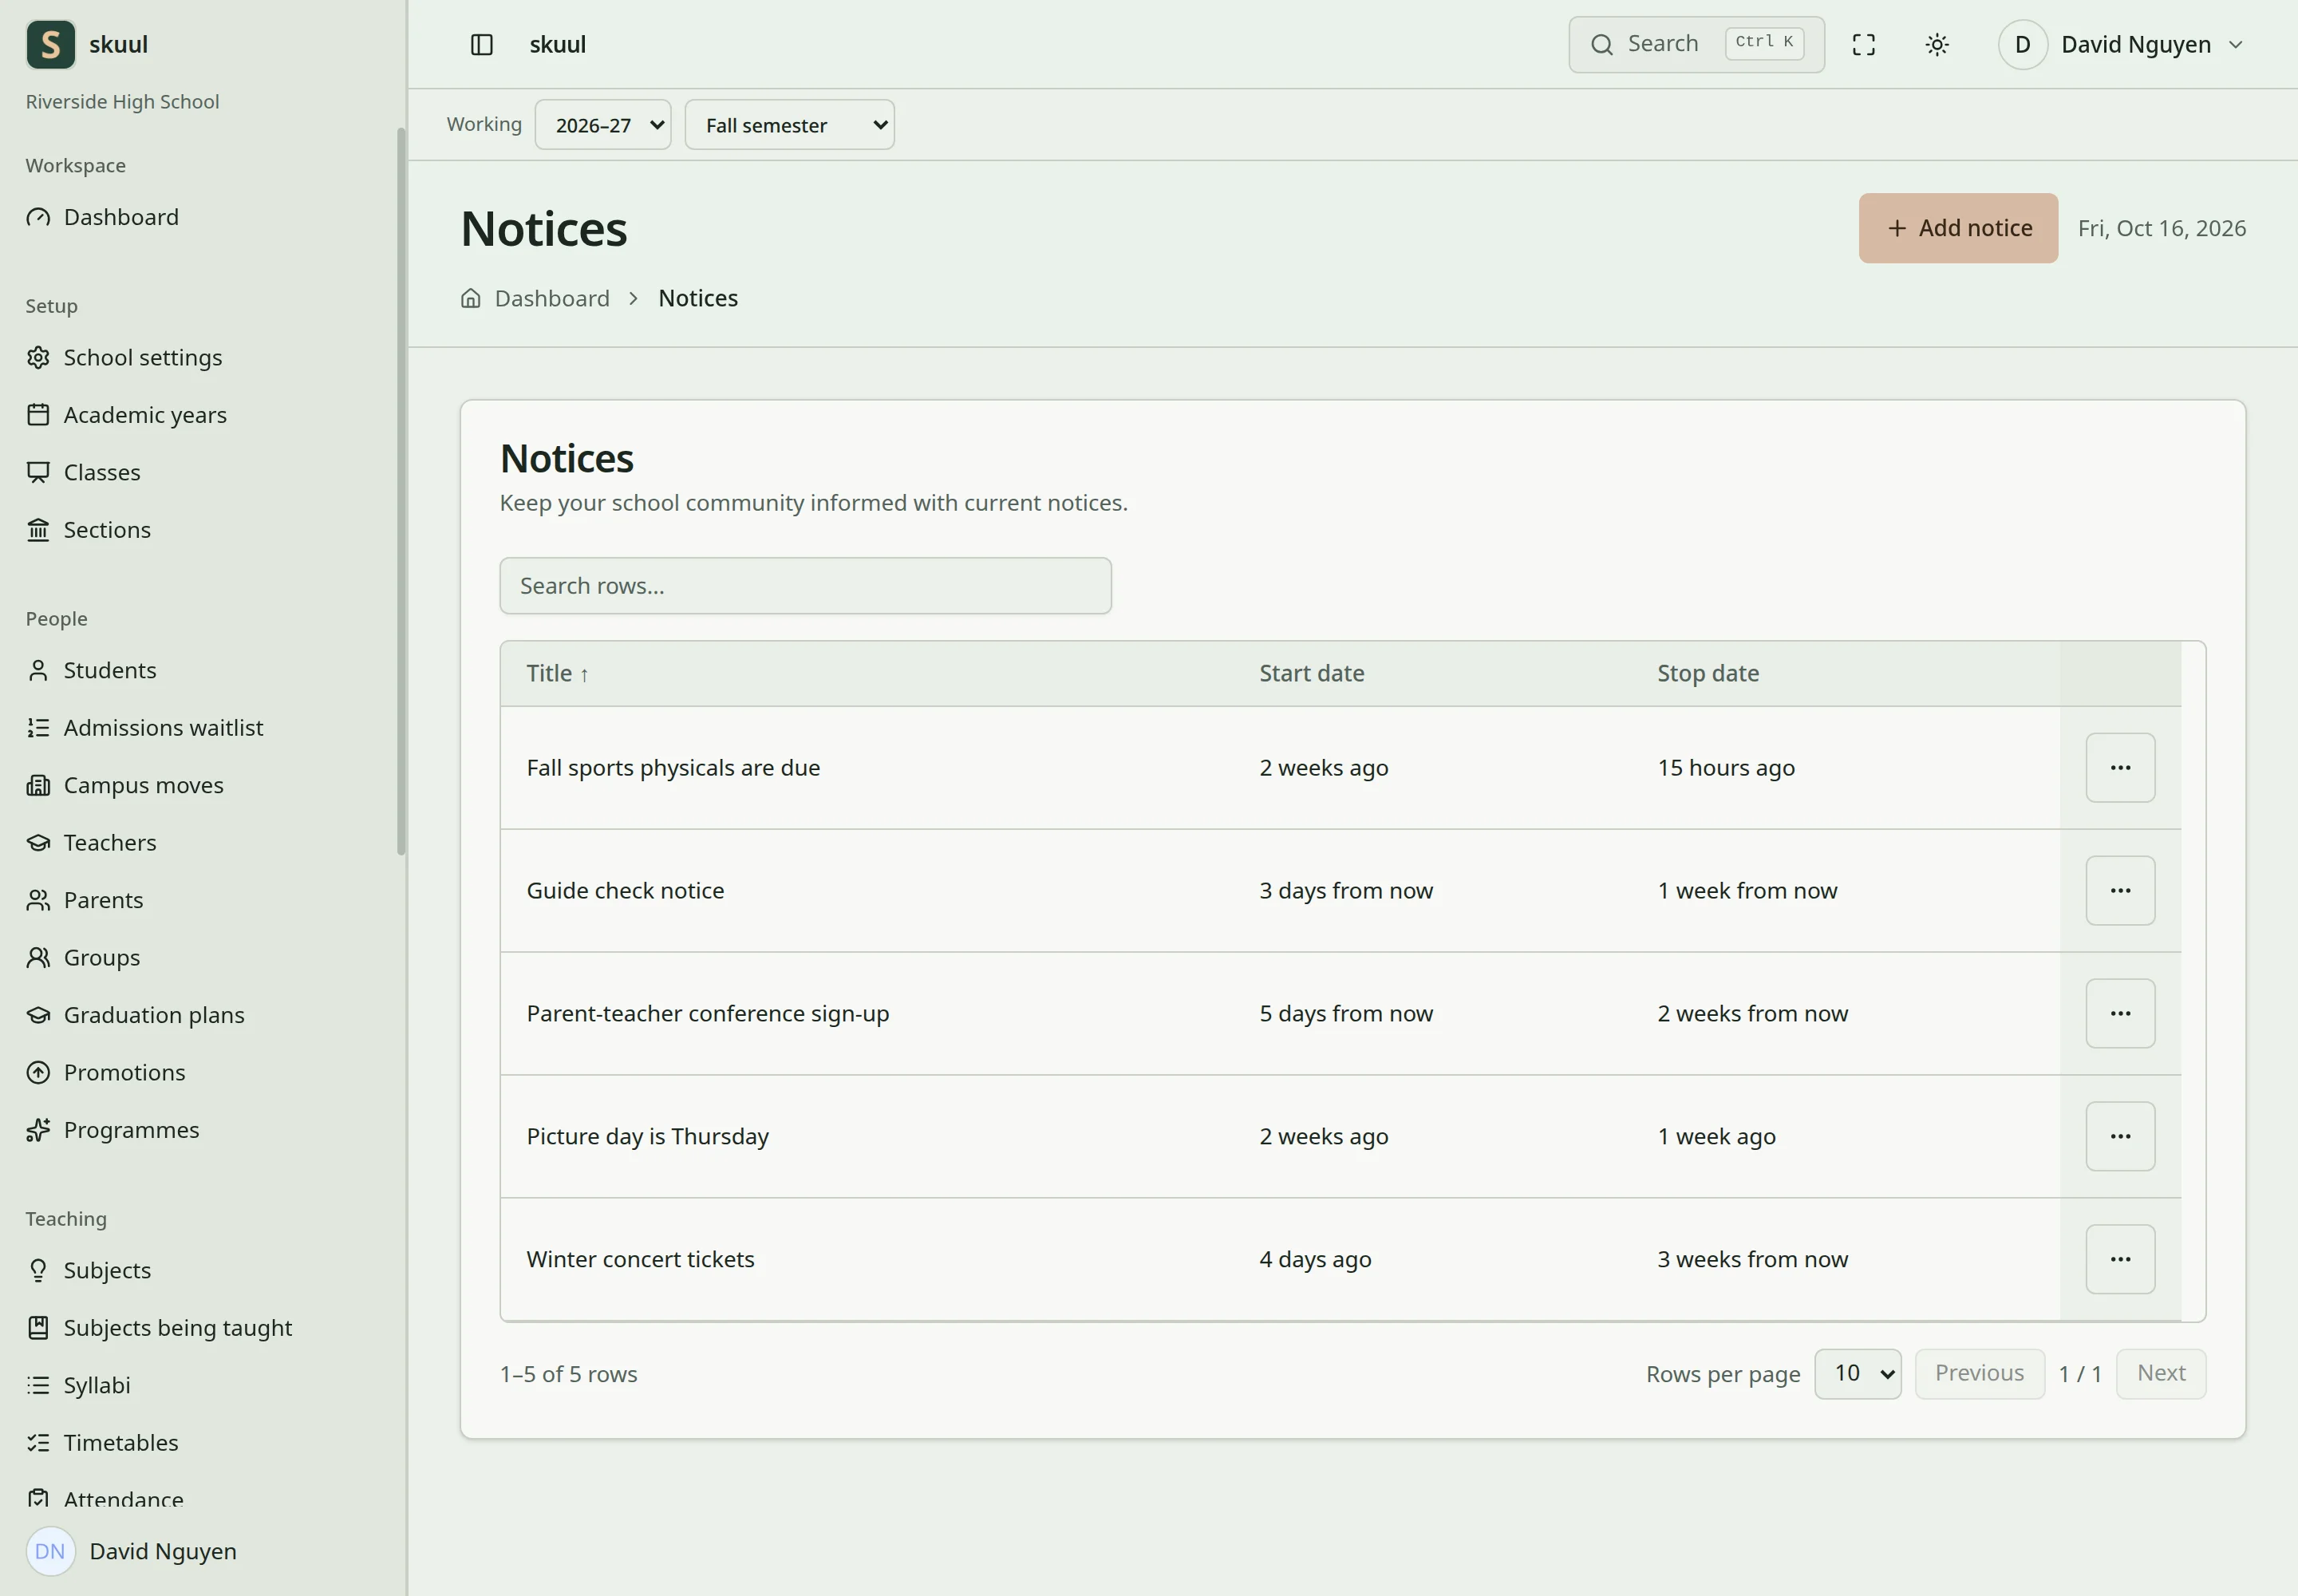
The scheduler controls due publication and expiry.
- Select Add notice. The Add notice page opens.
- Enter Title.
- Enter Message. Use the toolbar for bold, headings, lists, quotes, and links.
- Optionally select a file in Attachment (optional).
- Under When it shows, enter From and Until.
- Under Who reads it, select Whole school, Classes / levels, or Sections.
- For Classes / levels or Sections, select at least one item.
- Select Guardians too only when guardians must also get the notice.
- Select Email it too to also send the notice by email when it is published.
- Select Save the draft.
The notice page opens with the status Draft. It shows The notice was saved as a draft. Read it, then publish it.
Whole school means active staff and learners who attend this campus. Classes / levels means every current section of the selected classes or groups. Sections means only the selected sections. With Guardians too, the guardians of those learners also get the notice. A section notice with Guardians too does not become a whole-school notice.
Title accepts up to 255 characters. The message accepts up to 65000. Attachments accept PDF, Word, GIF, JPG, or PNG files up to 10 MB. The form shows these errors:
| Input | Message |
|---|---|
| Empty message | Write the message. |
| Until before From | The end date must be a date after or equal to start date. |
| Sections with no section selected | Choose at least one section. |
| Classes / levels with no class selected | Choose at least one class or level. |
Publish a notice
- Open the notice. In the list, open Row actions and select View notice.
- Read the message and check the attachment.
- Select Publish notice.
The page shows Notice published successfully. The status changes to Published. Publication fixes the recipients at that moment. People who join the audience later do not get the notice.
The statuses are Draft, Scheduled, Published, Expired, Superseded, and Archived. The form has no schedule control. Publish notice publishes at once. Every fifteen minutes, the scheduler publishes due scheduled notices. It also expires published notices after their Until date. A published notice shows on the dashboard from From to Until.
The notice page does not show the recipients or the dates. You cannot edit a notice after you save it. To correct a draft, delete it and write a new one.
Select Download and the file name on the notice page to get the attachment. The download checks that the reader can see the notice. Do not share its storage address as a public link.
Set email preferences
Families open Notification settings in the portal. Staff open their Profile and select Open notice email settings. Under Email me a copy of notices, each campus has a switch. When it is on, the line reads Emails arrive, and notices stay here too. When it is off, the line reads Notices only here. The switch saves at once.
A notice sends email only when Email it too was selected. It sends when the notice is published. A reader who turned notice email off gets no email. The notice stays in the app. Account and safety messages, such as a password reset, are always sent. An email preference does not grant access to a notice or change its audience. Families see their notices when the Notices portal area is on.
| Problem | Action |
|---|---|
| Family does not see a notice | Check that it is published and that its audience includes the child. Check the Notices portal area. |
| Notice is missing from the dashboard | Check its From and Until dates. |
| Notice shows Expired | Its Until date has passed. Write a new notice. |
| Attachment is rejected | Check the file type and the 10 MB limit. |
Check the result
- Check that the notice page shows Published.
- Check that the attachment downloads.
- Sign in as a test recipient and check that the notice shows.
See family portal, account access, and queue troubleshooting.